- Low Maintenance: No need for regular mowing, watering, or fertilizing.
- Durability: Withstands heavy use and varying weather conditions.
- Consistent Play Surface: Provides a reliable surface for practicing your putting skills.
- Customizable: Can be tailored to fit your space and desired design.
- Year-Round Use: Enjoy golfing regardless of the season.
Planning Your Putting Green
- Design and Layout:
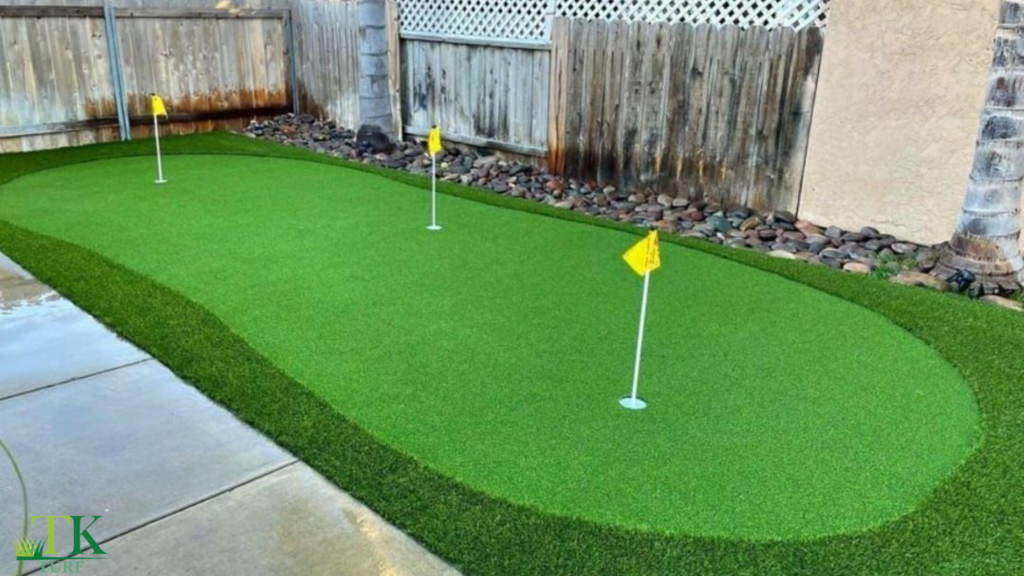
- Size and Shape: Determine the size and shape of your putting green based on available space and your golfing needs.
- Features: Decide on additional features like fringe areas, sand traps, or undulations to make your green more challenging and realistic.
- Choosing the Right Turf:
- Quality Turf: Select a high-quality putting green turf that mimics the look and feel of natural grass. Ensure it’s UV-resistant and designed for golf.
- Infill Type: Choose the appropriate infill material, such as silica sand or a specialized putting green infill, to provide the right ball roll and cushioning.
Installation Steps
- Site Preparation:
- Clear the Area: Remove existing grass, rocks, and debris. Ensure the surface is clean and level.
- Excavation: Excavate the area to a depth of 4-6 inches to accommodate the base layers.
- Install a Weed Barrier: Lay down a weed barrier fabric to prevent weed growth.
- Base Construction:
- Sub-Base Layer: Fill the excavated area with a sub-base material like crushed stone or decomposed granite. Compact it thoroughly to create a solid foundation.
- Leveling and Smoothing: Ensure the base is level and smooth, with slight slopes for drainage.
- Turf Installation:
- Roll Out the Turf: Unroll the synthetic turf over the prepared base, allowing it to acclimate and settle.
- Cut to Fit: Trim the edges to fit the desired shape using a sharp utility knife.
- Secure the Seams: Use seam tape and adhesive or turf staples to join multiple pieces of turf. Ensure the seams are tight and well-hidden.
- Infill Application:
- Distribute Infill: Evenly apply the infill material using a drop spreader or a broom. Brush the turf to help the infill settle.
- Adjust Ball Roll: Test the ball roll and add more infill if necessary to achieve the desired speed and consistency.
- Final Touches:
- Brushing: Brush the turf against the grain to lift the fibers and enhance its natural appearance.
- Inspect and Clean: Remove any debris and inspect the area for any loose spots or imperfections.
Maintenance Tips
- Regular Brushing: Brush the turf periodically to keep the fibers upright and maintain a consistent surface.
- Clean Spills Promptly: Clean any spills or pet waste immediately to prevent staining.
- Rinse Occasionally: Rinse the turf with water to remove dust and debris.
- Inspect for Wear: Regularly check for any signs of wear or damage and make repairs as needed.
Additional Considerations
- Drainage: Ensure your putting green has proper drainage to prevent water accumulation and potential damage.
- Fringe Areas: Consider installing a different type of synthetic turf around the putting green to create a realistic fringe area.
- Customization: Customize your putting green with different hole locations and obstacles to keep your practice sessions varied and challenging.
By following these installation tips and maintaining your synthetic turf putting green, you can enjoy a professional-grade practice area in the comfort of your backyard. Whether you’re a serious golfer or just enjoy the game, a synthetic putting green offers endless hours of fun and improvement.
TK Turf
2913 W Cypress St Suite 2, Tampa, FL 33609
(813) 534-4220
https://turfgrasstampabay.com/
Recent Comments