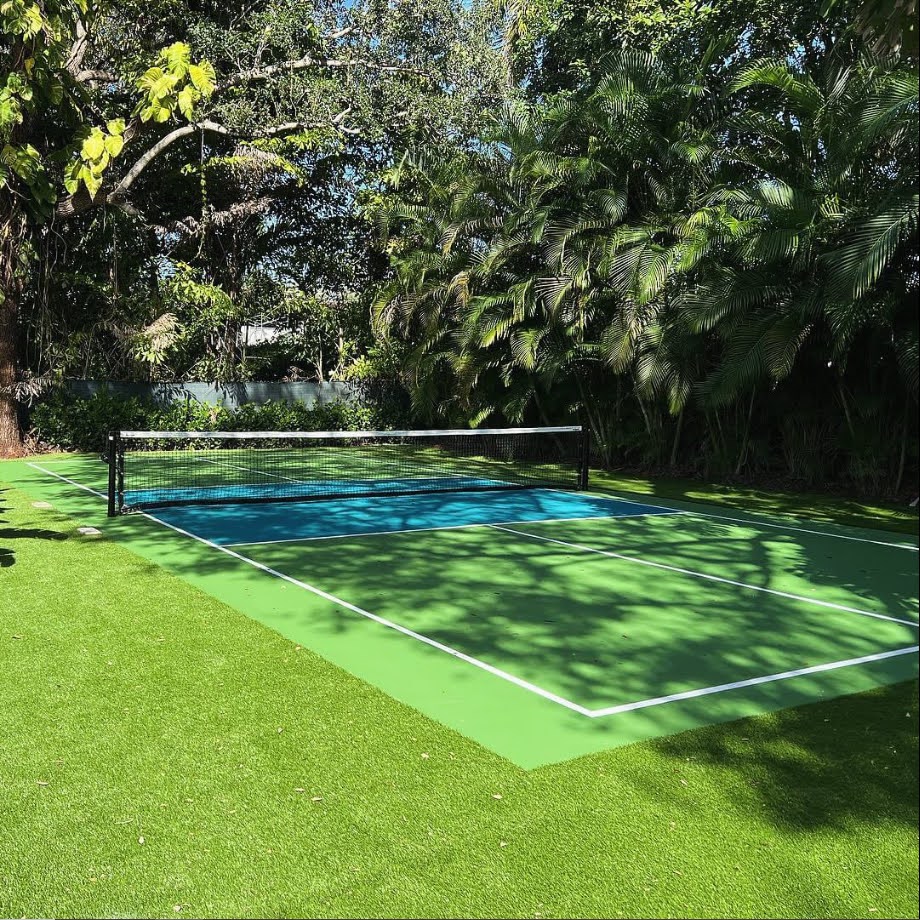
Why Choose Synthetic Turf for Your Backyard?
Choosing synthetic turf for your backyard is a smart decision for many homeowners. Here are some compelling reasons why synthetic turf might be the right choice for you:
1. Low Maintenance: No mowing, watering, or fertilizing needed.
2. Water Conservation: Save water and reduce your utility bills.
3. Durability: Withstands heavy use and harsh weather.
4. Year-Round Green: Looks lush and green all year without seasonal changes.
5. Allergen-Free: Reduces allergens compared to natural grass.
6. Eco-Friendly: Some options are made from recycled materials and reduce carbon footprint.
7. Child and Pet-Friendly: Safe and clean play areas.
8. Versatile: Suitable for various landscapes and tough growing conditions.
9. Cost-Effective Over Time: Low maintenance costs offset initial investment.
10. Consistent Quality: Reliable appearance and performance.
Things to Know About Installing Synthetic Turf
While synthetic turf offers many benefits, proper installation is key to ensuring it looks great and performs well. Here are some essential tips for installing synthetic turf in your backyard:
1. Planning and Preparation:
– Measure the Area: Accurately measure the space where you plan to install the turf to determine how much material you will need.
– Choose Quality Turf: Invest in high-quality synthetic turf for better durability and appearance. Look for UV-resistant and non-toxic materials.
2. Ground Preparation:
– Clear the Area: Remove any existing grass, weeds, rocks, and debris. Ensure the surface is clean and smooth.
– Excavation: Excavate the area to a depth of about 3-4 inches to allow for the base layers.
– Install a Weed Barrier: Lay down a weed barrier fabric to prevent weeds from growing through the turf.
3. Base Installation:
– Add a Sub-Base: Fill the excavated area with a sub-base material like crushed stone or decomposed granite. Compact it to create a solid foundation.
– Level the Surface: Ensure the base is level and slopes away from structures for proper drainage.
4. Turf Installation:
– Roll Out the Turf: Lay the synthetic turf rolls over the prepared base, allowing the turf to acclimate and settle.
– Cut to Fit: Trim the edges of the turf to fit your area precisely, using a utility knife or turf cutter.
– Secure the Seams: Join multiple pieces of turf using seam tape and adhesive or turf staples. Ensure the seams are tightly secured and not visible.
– Anchor the Edges: Secure the perimeter of the turf with landscape spikes or nails, spaced every few inches to prevent lifting.
5. Infill Application:
– Choose the Right Infill: Use silica sand, rubber granules, or a combination of both as infill material to help the turf blades stand up and provide cushioning.
– Distribute Evenly: Apply the infill material evenly across the turf using a drop spreader or a broom. Brush the turf to help the infill settle.
6. Final Touches:
– Brush the Turf: Brush the turf against the grain to lift the fibers and give it a natural look.
– Check for Debris: Inspect the area for any debris or loose materials and remove them.
– Water the Turf: Lightly water the turf to help settle the infill and clean off any dust.
Maintenance Tips for Synthetic Turf
Although synthetic turf requires minimal maintenance, a little care can go a long way in keeping it looking great:
– Regular Brushing: Brush the turf periodically to keep the fibers upright and maintain its appearance.
– Clean Spills Promptly: Clean any spills or pet waste promptly to prevent staining and odor.
– Rinse Occasionally: Rinse the turf with water occasionally to remove dust and debris.
– Inspect for Damage: Check for any damage or wear and repair it promptly to extend the turf’s lifespan.
By following these tips and understanding the installation process, you can enjoy a beautiful, low-maintenance synthetic turf backyard for years to come.
TK Turf
2913 W Cypress St Suite 2, Tampa, FL 33609
(813) 534-4220
https://turfgrasstampabay.com/


Recent Comments